DIY Drywall Patching Tips with a Professional Finish
Gather Your Materials
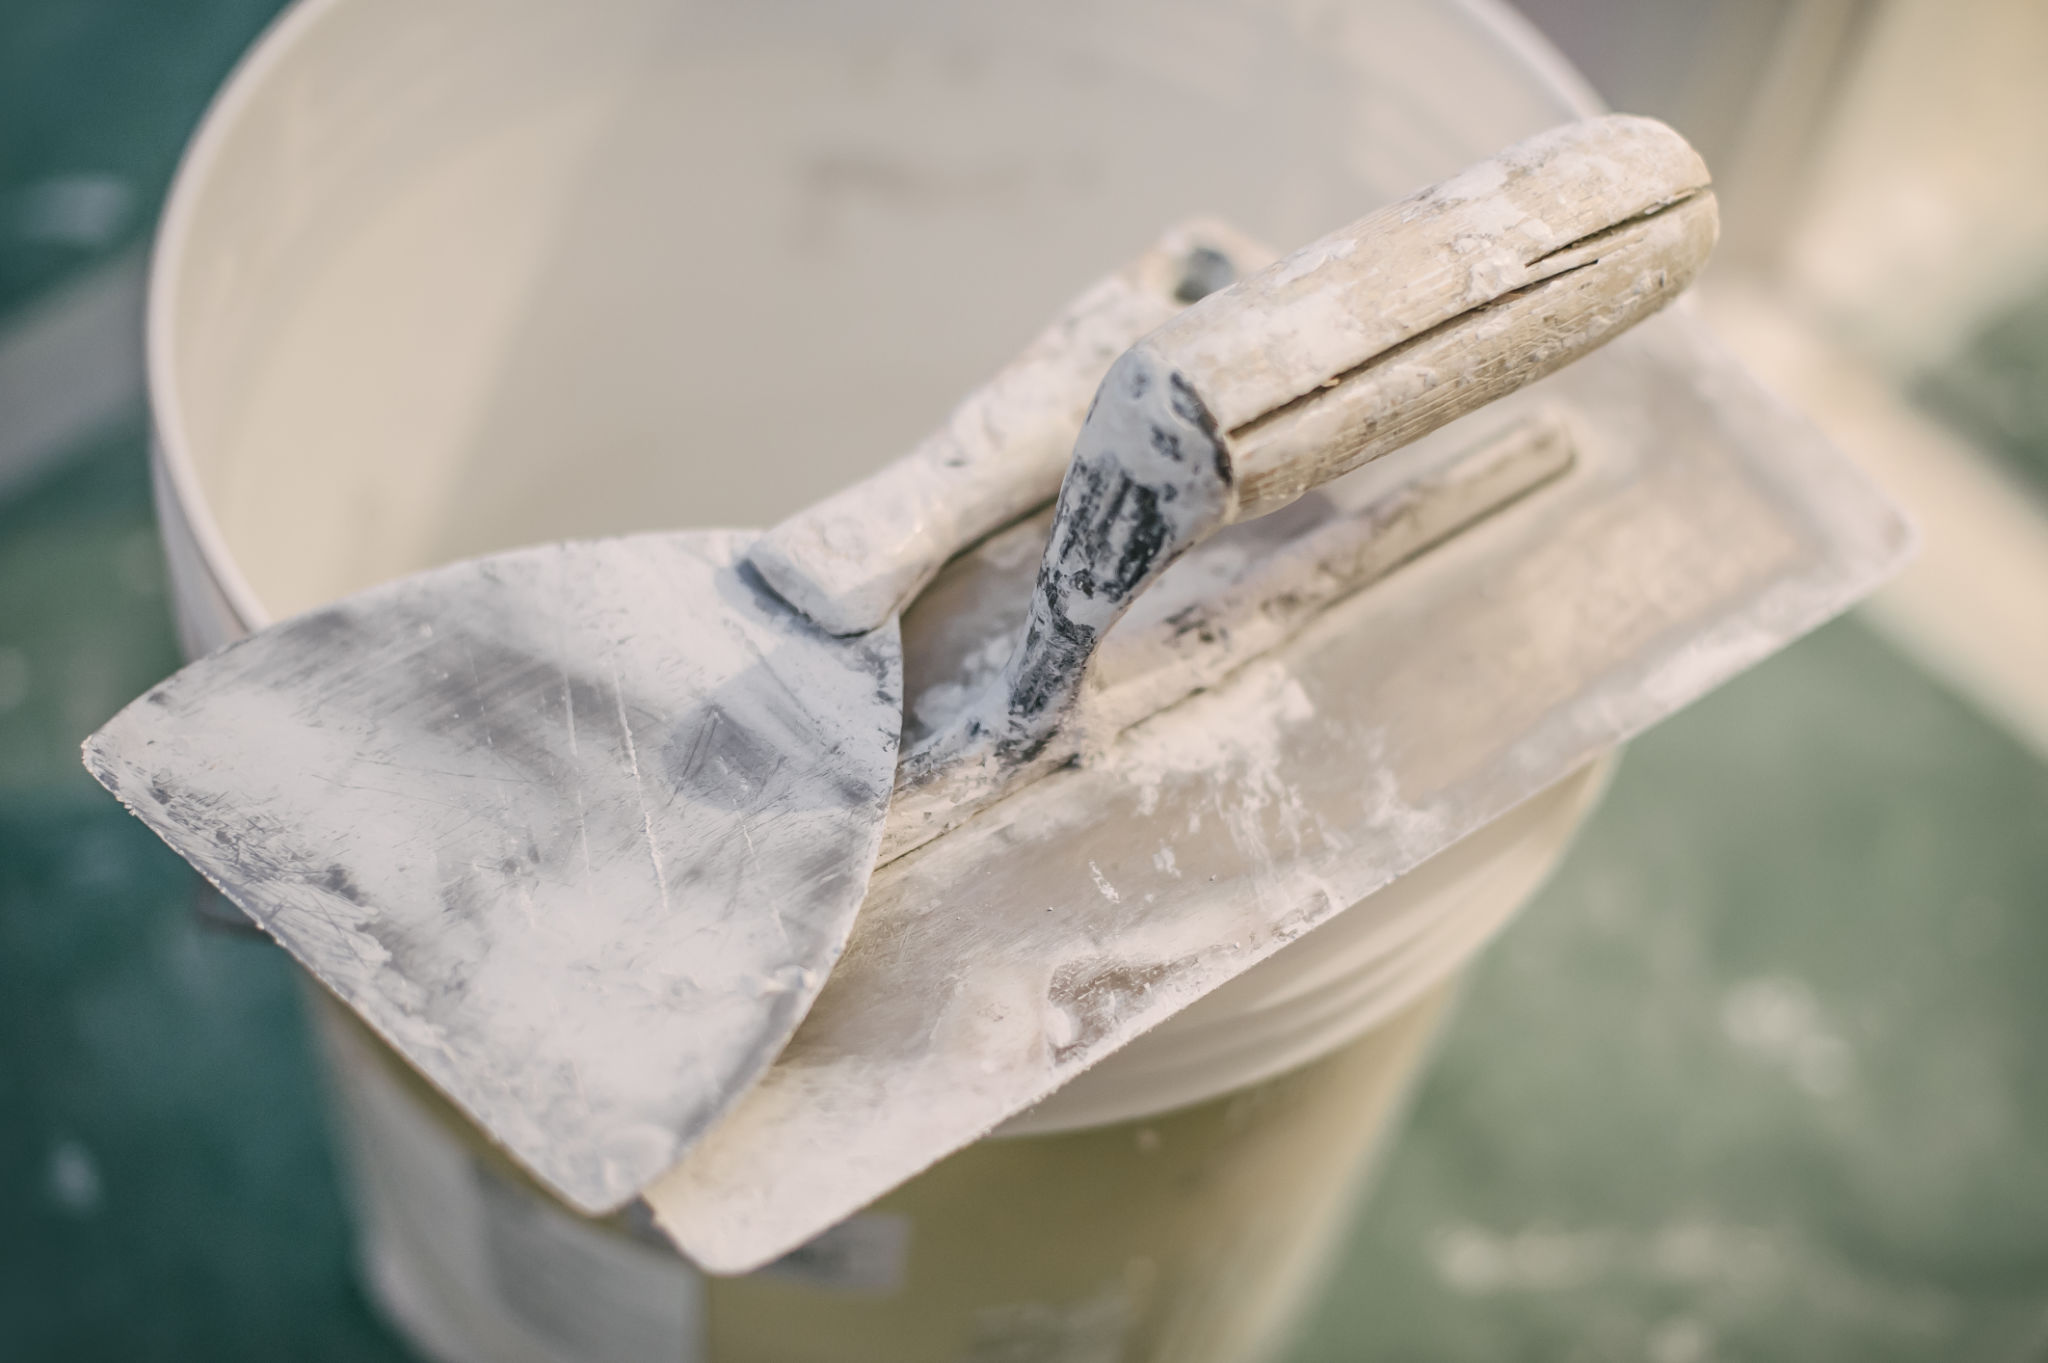
Before you start patching drywall, it’s crucial to gather all the necessary materials and tools. You'll need drywall compound, a putty knife, sanding sponge, drywall tape, and a utility knife. Having these items ready will make the process smoother and more efficient.
Preparing the Area
Preparation is key to achieving a professional finish. Start by clearing the area around the damage to ensure you have enough space to work. Use a drop cloth to protect your floors and furniture from dust and debris. Clean the damaged area with a damp cloth to remove any dust or loose material.
Cutting Away Damaged Drywall
Use a utility knife to cut away any loose or damaged drywall. Be careful not to cut too deeply; the goal is to remove only the damaged portion. Once you’ve cut away the damaged drywall, you should have a clean, square hole to work with.
Patching the Hole
For small holes, apply a generous amount of drywall compound over the hole using a putty knife. For larger holes, use drywall tape to cover the gap before applying the compound. The tape will help reinforce the patch and prevent future cracks.

Smoothing the Surface
Once the drywall compound is applied, use your putty knife to smooth it over the patch. Aim for a thin, even layer that blends seamlessly with the surrounding wall. Allow it to dry completely before moving on to the next step.
Sanding for a Professional Finish
After the compound has dried, it’s time to sand the area. Use a sanding sponge to gently smooth out any rough edges or bumps. The goal is to create a smooth, even surface that matches the rest of the wall.
Applying a Second Coat
For a truly professional finish, apply a second coat of drywall compound. This layer should be even thinner than the first, focusing on filling in any remaining imperfections. Allow this coat to dry thoroughly before sanding again.

Final Touches
Once you're satisfied with the patch, it's time for some final touches. Clean the area of any dust and prepare it for painting. Match your paint as closely as possible to avoid noticeable differences in color and texture. Apply paint in thin layers until you achieve your desired result.
Maintaining Your Work
To keep your newly patched wall looking great, regularly check for signs of wear or damage. If you notice any issues, address them promptly to prevent further damage. With proper maintenance, your drywall patch should last for years to come.