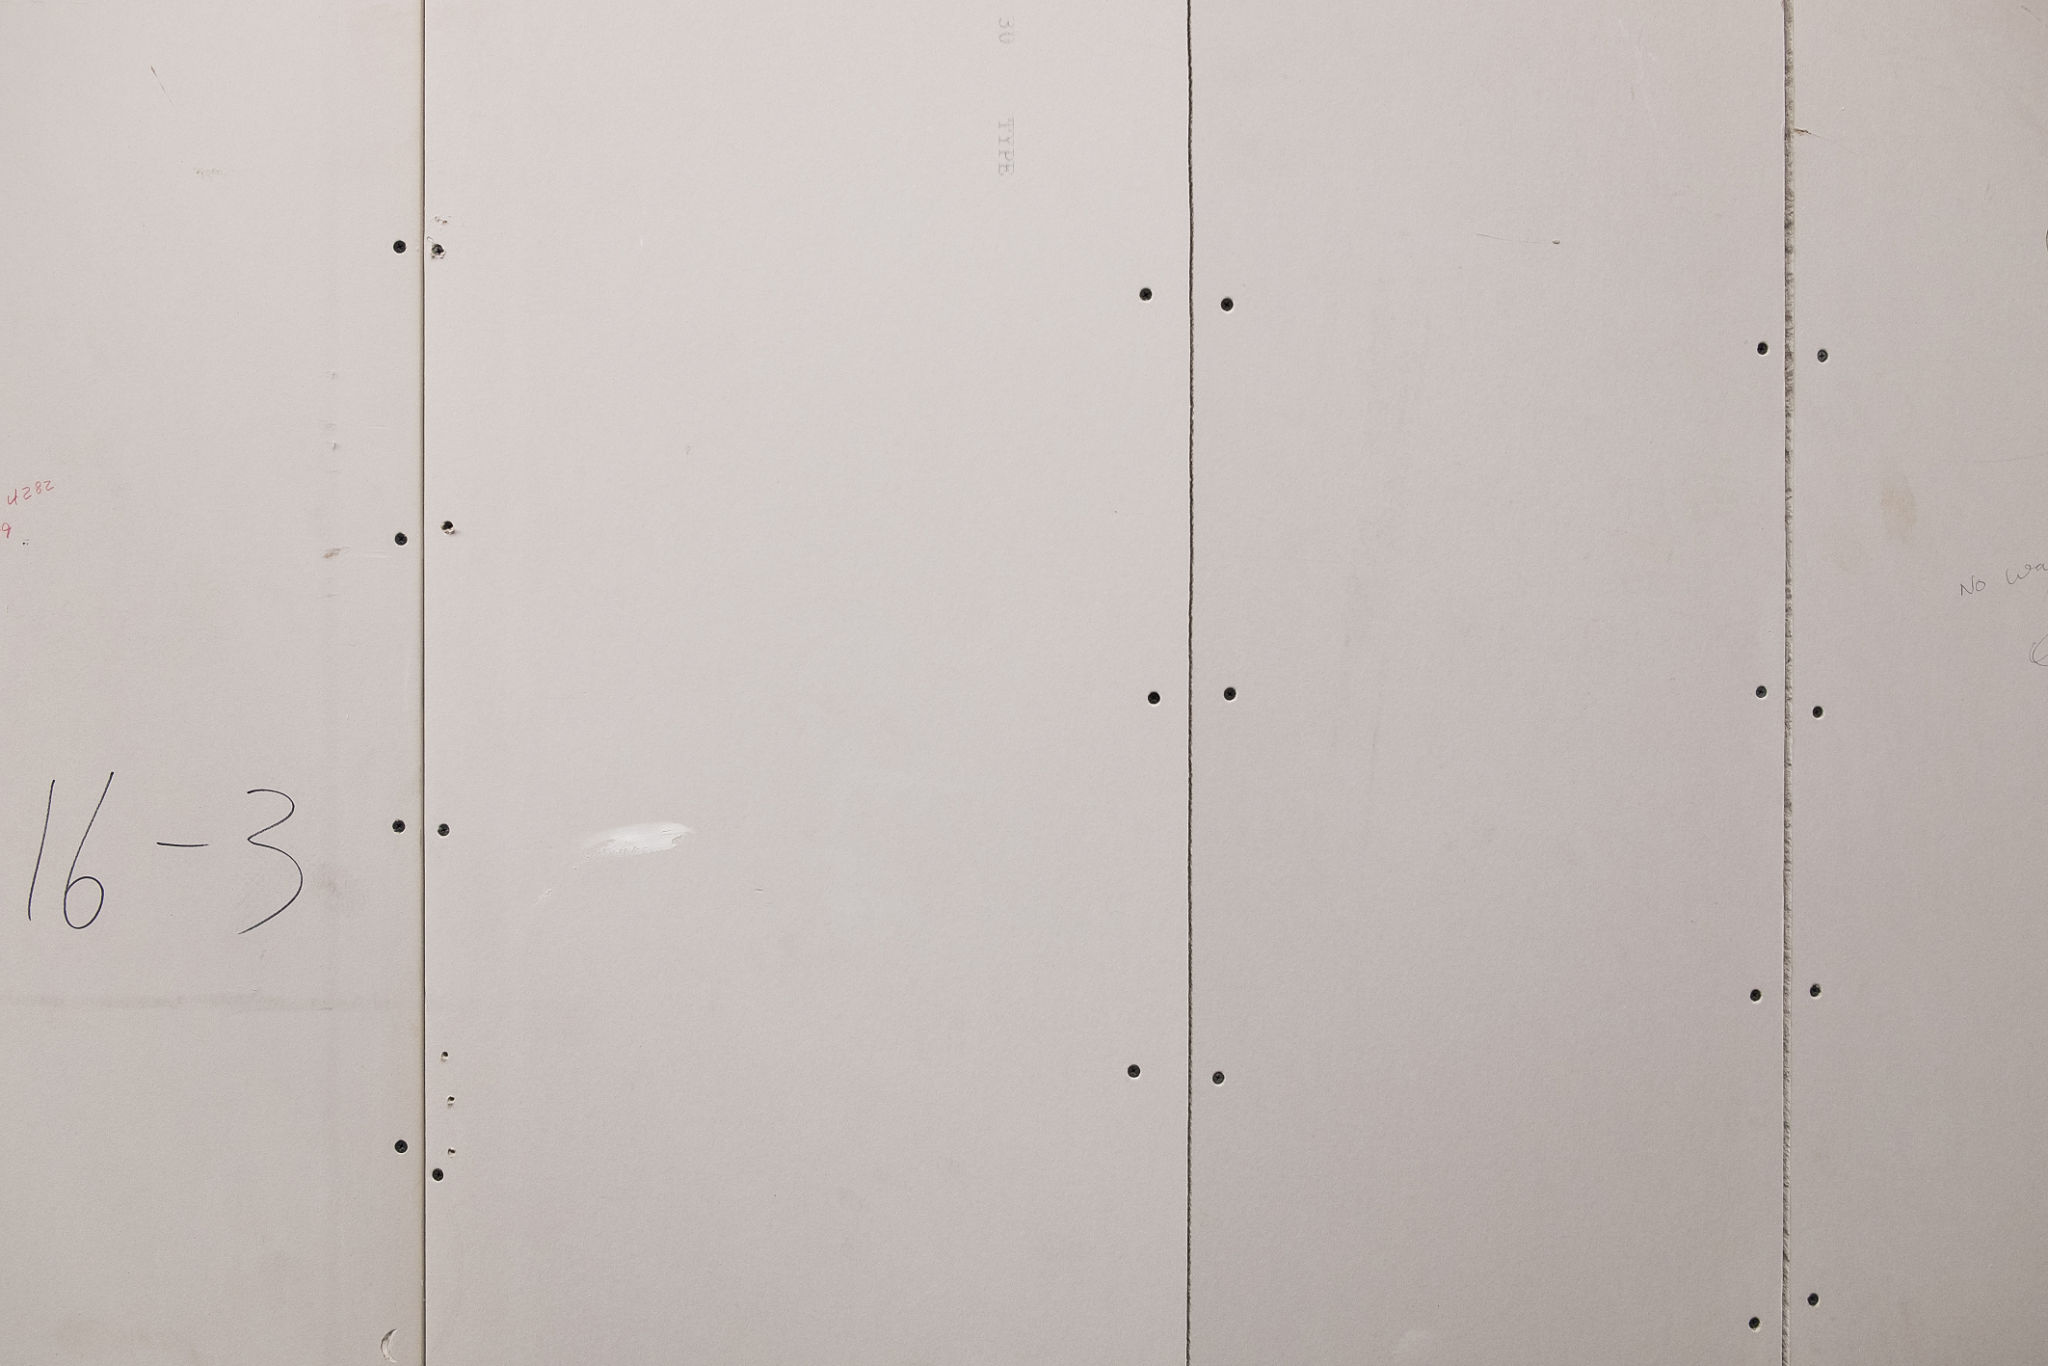
How to Patch Drywall Like a Pro: Expert Tips from Esme Drywall Renovations
Understanding the Basics of Drywall Repair
If you're looking to patch drywall like a pro, you're in the right place. At Esme Drywall Renovations, we've honed our skills over years of experience. The good news is that with the right tools and techniques, you can achieve professional results at home.
Drywall, also known as plasterboard, is a popular building material due to its durability and ease of installation. However, it can still suffer from damage like holes, cracks, and dents. Knowing how to repair these imperfections can save you time and money.

Gathering Your Tools and Materials
Before you start any drywall patching project, it's essential to gather all the necessary tools and materials. Here's a checklist to get you started:
- Utility knife
- Drywall saw
- Joint compound
- Drywall tape
- Sandpaper (medium and fine grit)
- Putty knife
- Drywall patch or scrap piece of drywall
Having these tools on hand will make the process smoother and more efficient.
Preparing the Damaged Area
Preparation is key to a successful drywall repair. Start by cleaning the damaged area of any loose debris. Use a utility knife to cut around the damaged section, ensuring you're working with a clean edge.
If you're dealing with a small hole or crack, reinforce it with a piece of drywall tape. For larger holes, you'll need a drywall patch or a piece of scrap drywall cut to fit the opening.

Patching and Applying Joint Compound
Once your area is prepared, it's time to patch. Place your drywall patch over the hole and secure it with drywall screws if necessary. Then, apply a generous layer of joint compound over the patch using a putty knife.
Smoothing out the joint compound is crucial for a seamless finish. Feather the edges of the compound outward to blend it into the surrounding wall. Allow it to dry completely before proceeding to the next step.
Sanding for a Flawless Finish
After the joint compound has dried, sand the area with medium-grit sandpaper to remove any ridges or imperfections. Follow up with fine-grit sandpaper for a smooth finish. The goal is to make the repaired area level with the rest of the wall.

Final Touches: Priming and Painting
Once your sanding is complete, it's time for priming and painting. Apply a coat of primer to the patched area to ensure an even paint finish. Once the primer is dry, paint over it with your chosen wall color.
Allow the paint to dry completely before assessing your work. If needed, apply a second coat for better coverage.
Maintaining Your Drywall Repairs
To keep your walls looking pristine, regularly check for any new damage or wear. Quick touch-ups can prevent small issues from becoming bigger problems down the line. With these expert tips from Esme Drywall Renovations, you'll be equipped to handle any drywall repair challenge with confidence.
Patching drywall might seem daunting at first, but with practice and patience, you can achieve professional-level results right from your own home.