How to Patch Drywall Like a Pro: Tips from Esme Drywall Renovations
Patching drywall might seem like a task best left to the professionals, but with a little guidance, you can achieve a seamless finish yourself. At Esme Drywall Renovations, we believe everyone can become a DIY pro with the right techniques and tools. In this guide, we'll walk you through the steps to patch drywall like a seasoned expert.
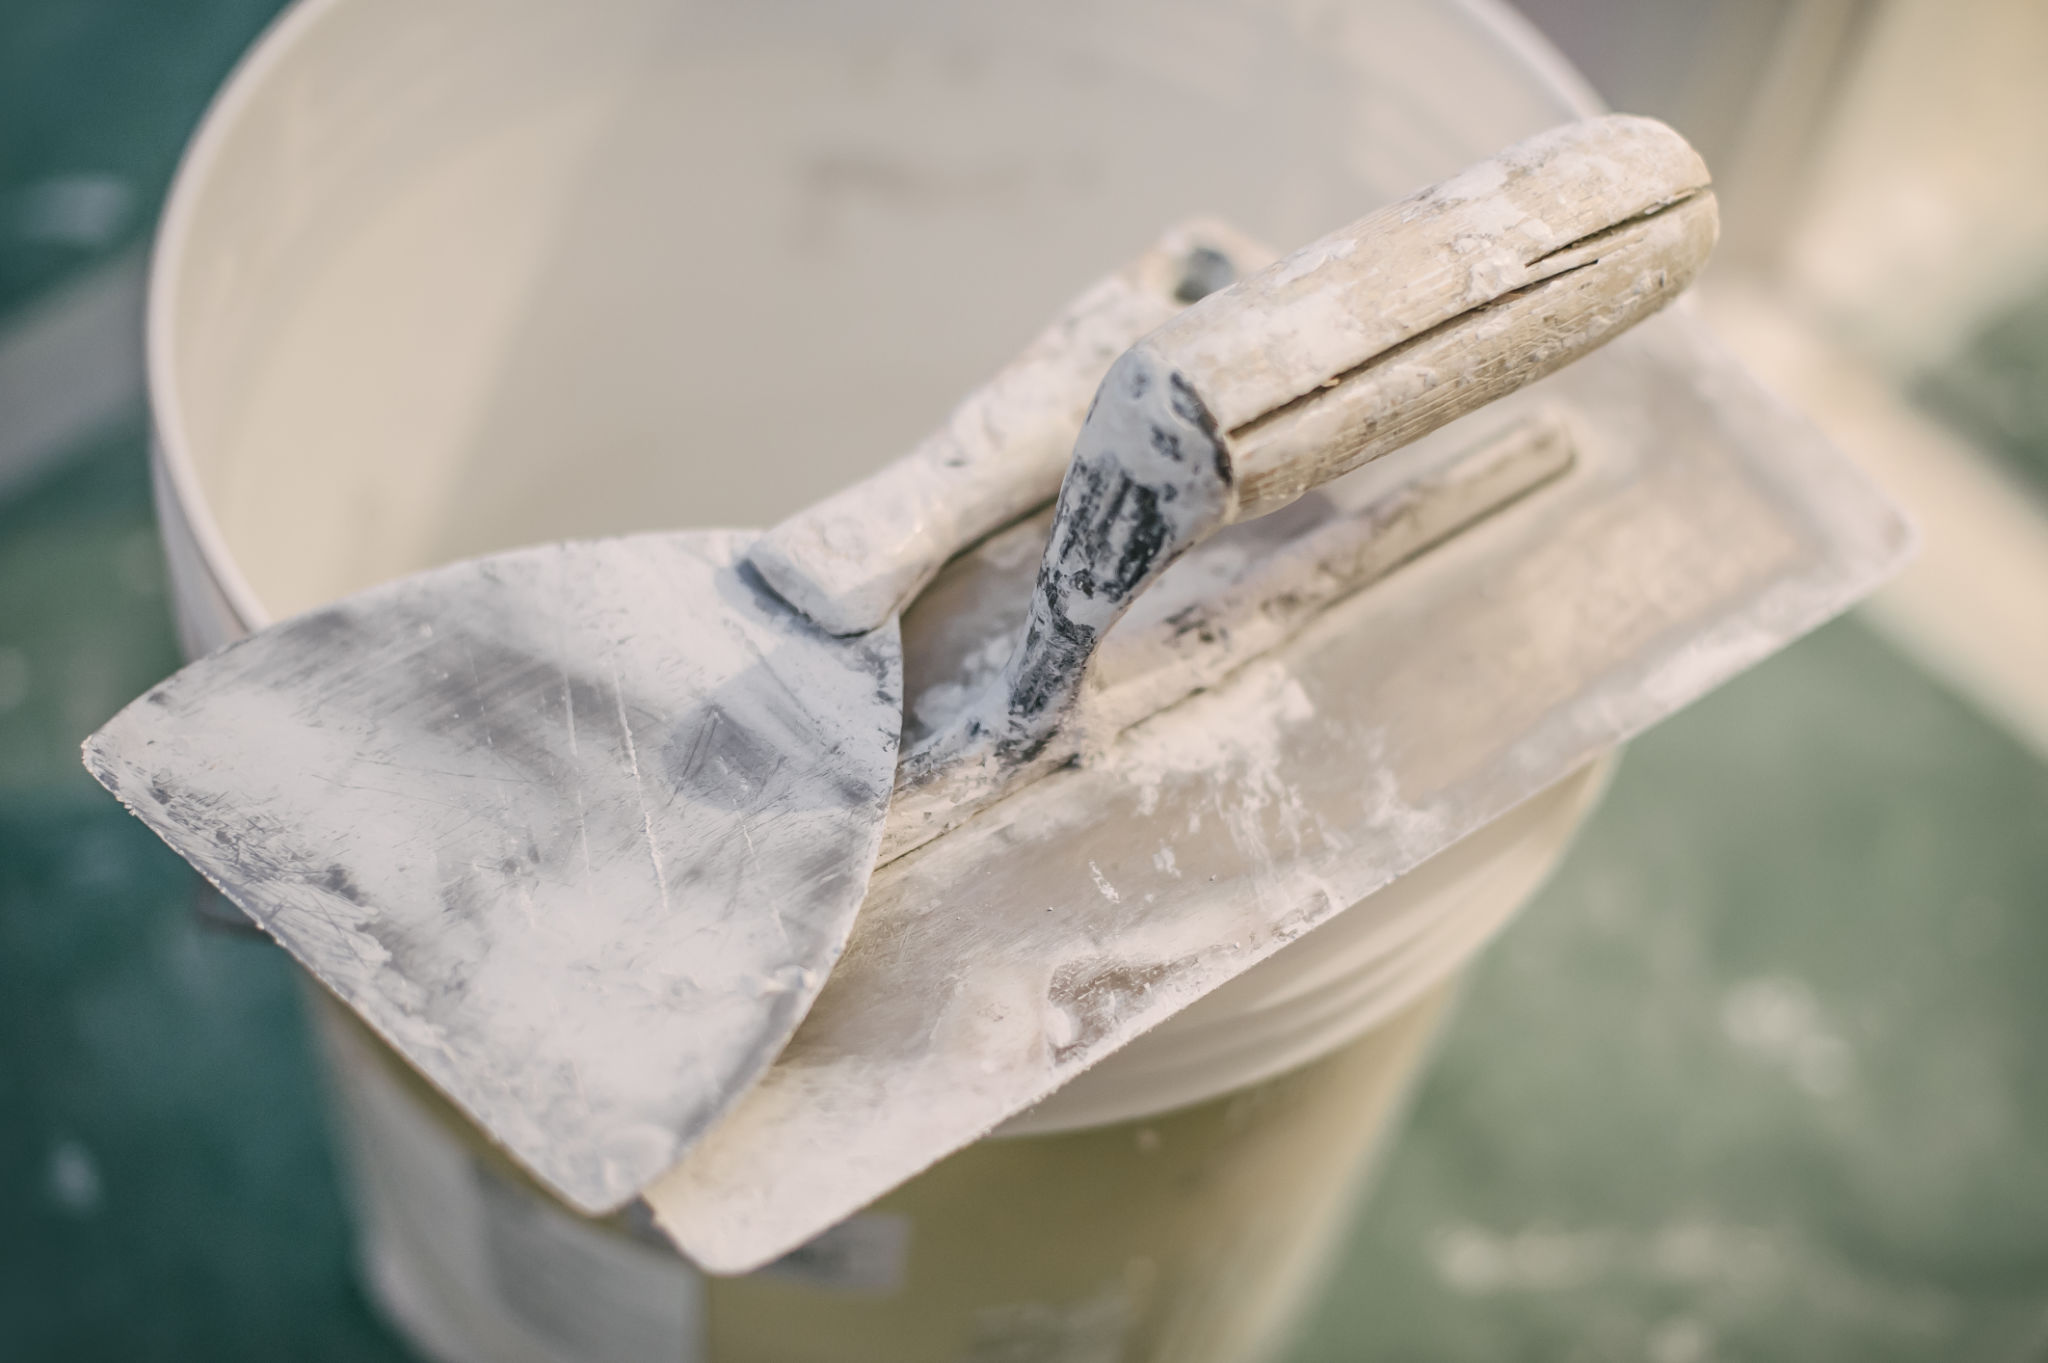
Gather Your Supplies
Before diving into the patching process, it's essential to have all your materials at hand. You'll need a drywall patch kit, joint compound, a putty knife, sandpaper, and primer. Having these tools ready will ensure that your repair job goes smoothly and efficiently.
Prepare the Damaged Area
Clean and Cut the Affected Section
Begin by cleaning the damaged area to remove any dust and debris. Use a utility knife to cut away loose drywall paper or crumbling edges. This step is crucial for ensuring that your patch adheres properly and doesn't peel over time.
Create a Smooth Surface
Next, use sandpaper to smooth out the edges around the hole or crack. This will help the patch sit flush with the rest of the wall, providing a polished result once painted.
Apply the Patch
Choose the Right Patch Type
Depending on the size of the hole, you may need a mesh patch or a piece of drywall for larger repairs. For small holes, adhesive mesh patches are ideal because they stick easily and provide a solid base for joint compound application.
Secure the Patch
Place the patch over the hole, ensuring it's centered and covers the damaged area completely. Press down firmly to ensure it's secure before moving on to the next step.

Finish with Joint Compound
Apply and Smooth the Compound
Using a putty knife, spread joint compound over the patch, feathering it out onto the surrounding drywall. It's important to apply thin layers and allow each to dry completely before adding more. This will minimize shrinkage and reduce sanding later.
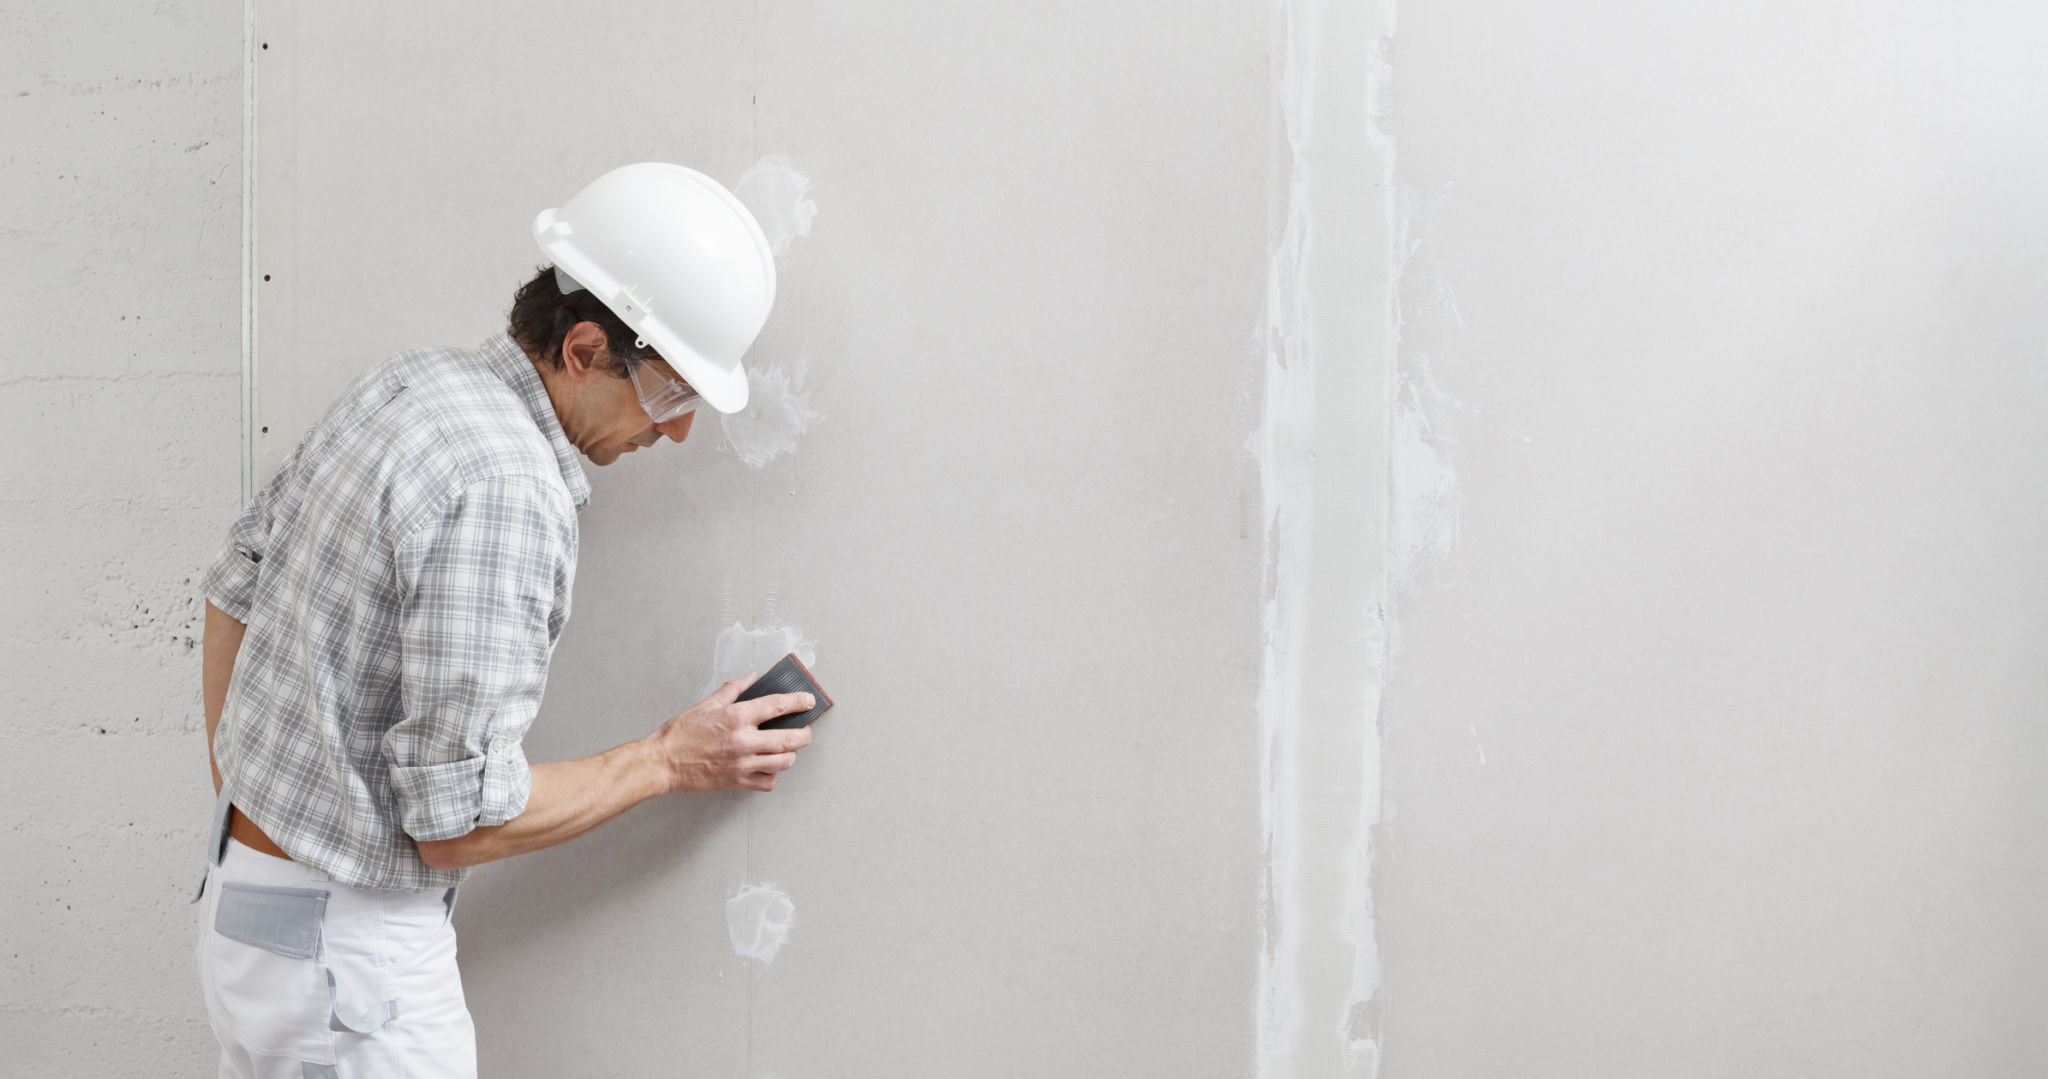
Sand for a Seamless Finish
Once the compound is thoroughly dry, sand it down with fine-grit sandpaper until it's smooth and level with the wall. Wipe away any dust with a damp cloth to prepare for priming and painting.
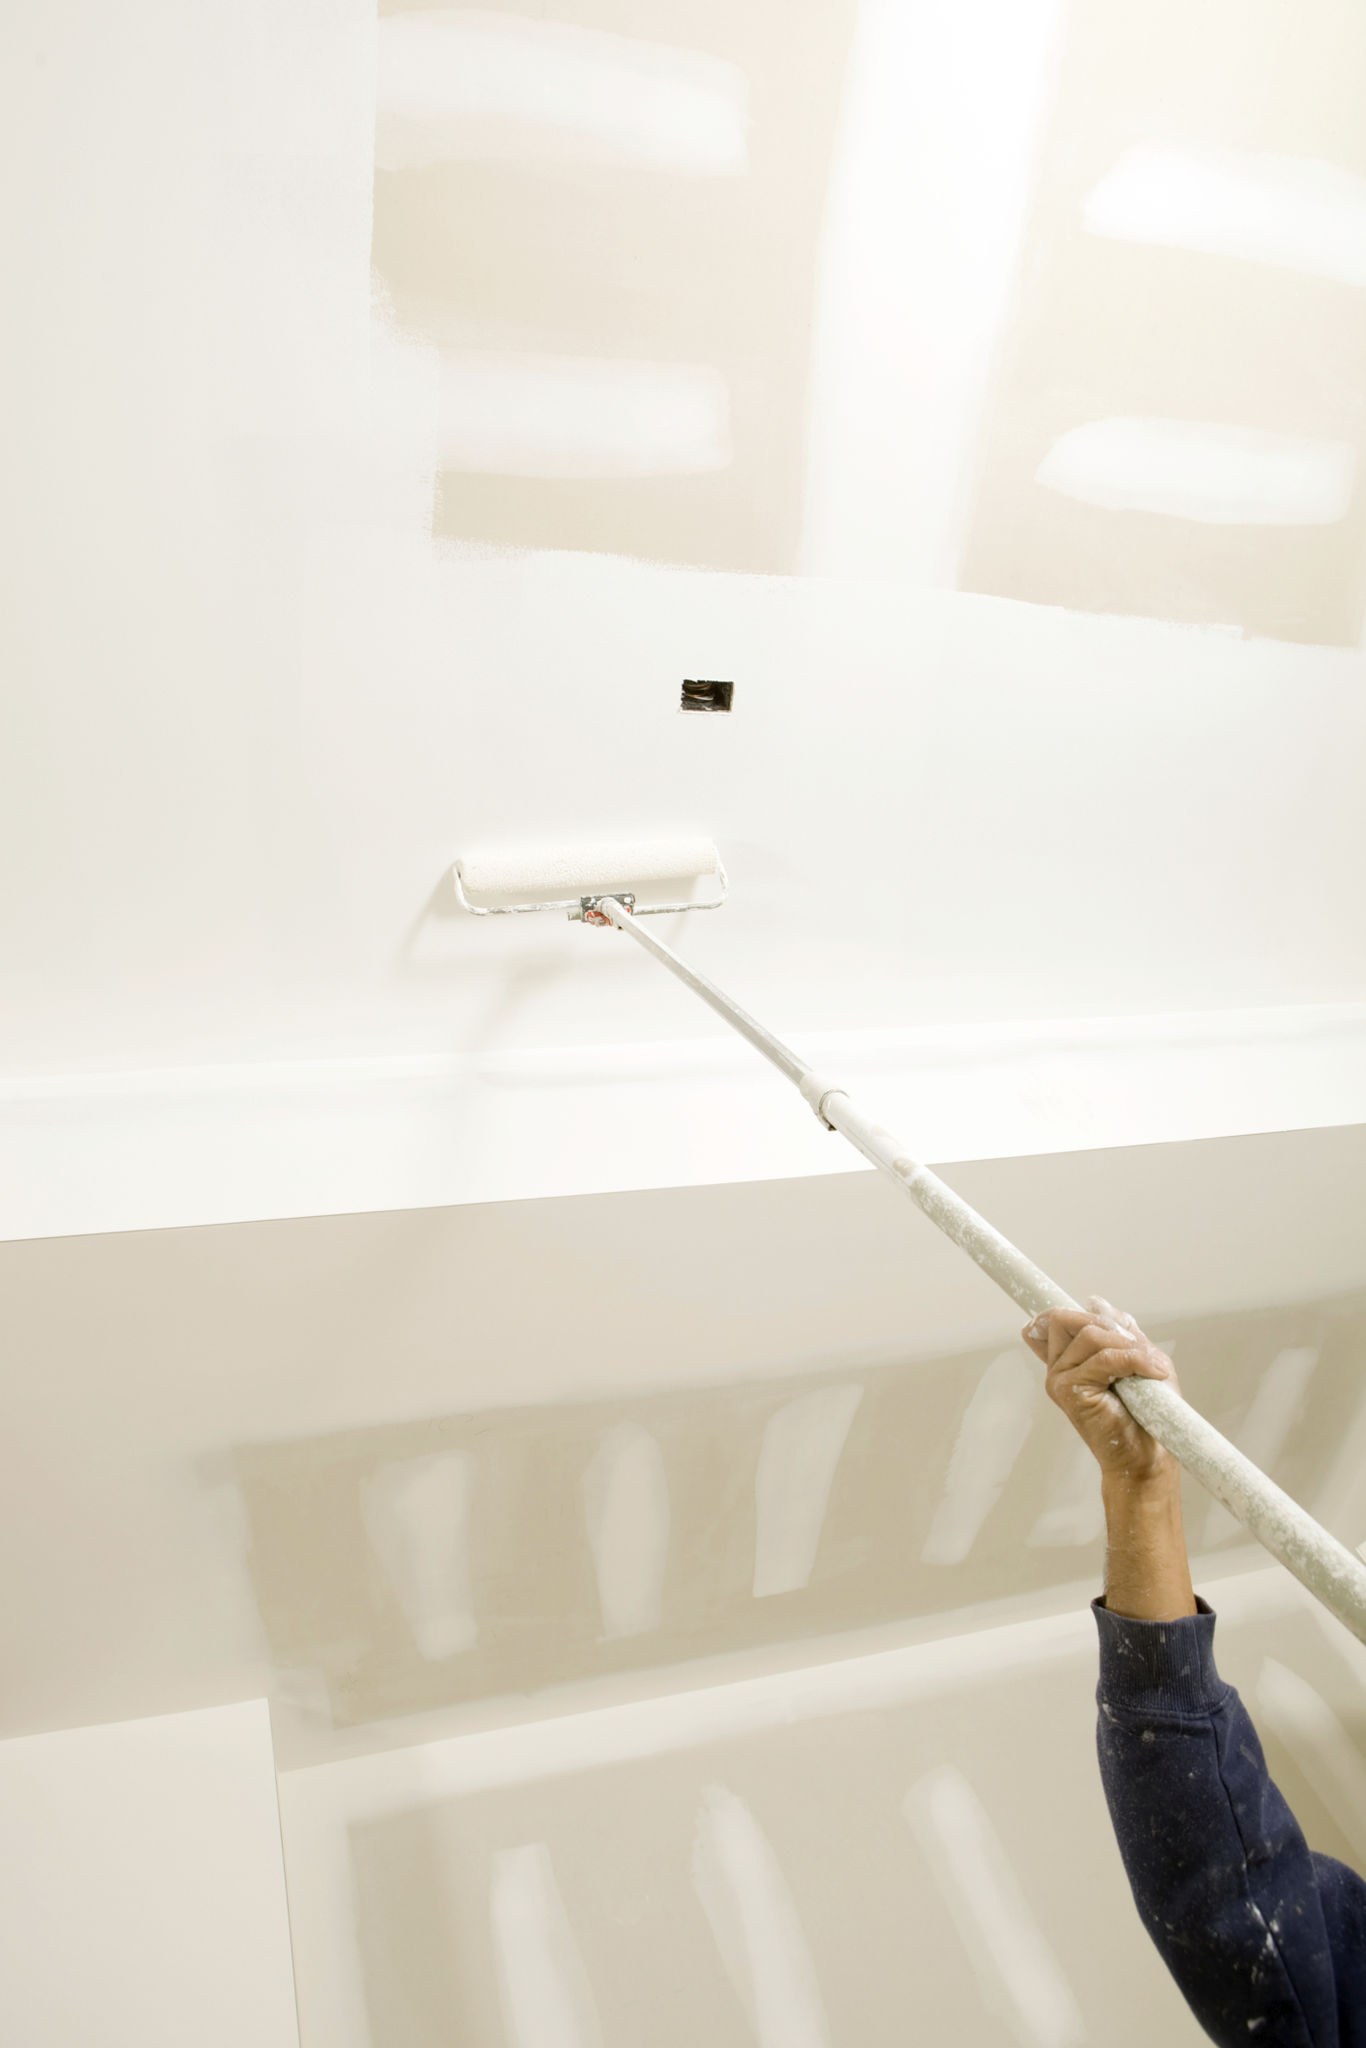
Prime and Paint
To match your patched section with the rest of your wall, apply primer over the area before painting. Primer helps seal the joint compound and prepares it for an even coat of paint. Finish by painting over your repair for a flawless look that blends seamlessly with your existing wall color.
Patching drywall doesn't have to be daunting. With these tips from Esme Drywall Renovations, you can tackle repairs with confidence and achieve professional results. Whether you're fixing minor dings or larger holes, remember that patience and precision are key to a successful DIY project.